How To Capture Email Addresses Using A Form And Assets
Estimated Reading Time: 8 MinutesNote: This guide is the starting point of a series of tutorials and how-to's for Mautic trial users to get to know Mautic and get the most return out of it like increasing your leads, customer lifetime value, more loyal returning customers, and lowering your customer acquisition costs.
Start your Mautic Trial if you haven't already.
One of the core functionalities of Mautic is its ability to capture and manage email addresses, a critical component for:
- Direct communication
- Lead nurturing
- Building relationships
- Gaining customer insights
- Cost-effective marketing
By integrating Mautic with a landing page, businesses can create forms to capture emails, embed them on the page, and configure actions such as follow-up emails or list additions. This will help engage and convert visitors through targeted and personalized marketing strategies.
Steps to Capture Email Addresses Using Forms and Assets
Follow the steps given below to start capturing email addresses using Mautic forms and assets.
Step 1: Create A Form
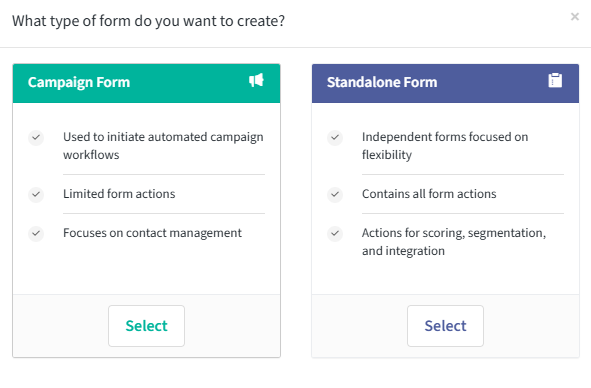
Navigate to the “Components” menu in the main navigation menu and select “Forms.” After this, Click on "New" to create a new form. You will now have to choose between a “Campaign form” and a “Standalone form.”
Campaign Forms Vs. Standalone Forms
Campaign forms and standalone forms serve distinct purposes. Campaign forms are integrated into marketing campaigns and trigger specific actions within a campaign workflow, making them ideal for advanced automation and lead nurturing. They allow for complex sequences of actions based on user interactions.
In contrast, standalone forms function independently of campaigns and are used for general data collection, such as newsletter sign-ups or event registrations. They are easier to set up and manage and suitable for scenarios where immediate campaign-driven automation isn't required. Understanding these differences helps in choosing the right form type based on marketing objectives.
The following table summarizes the differences between Campaign forms and Standalone forms.
|
Campaign Forms |
Standalone Forms |
|
Designed to be part of a broader marketing campaign |
Functions independently from campaigns |
|
Used to trigger specific actions within a campaign workflow |
Often used for general data collection or one-off interactions |
|
Offers advanced automation capabilities. You can set up complex sequences of actions and conditions based on user interactions with the form. |
Simpler to set up and use compared to campaign forms. You can configure standalone forms to perform actions like sending an email or adding a user to a segment. |
|
Ideal for situations where you want form submissions to directly influence the progression of a marketing campaign. For instance, capturing leads from a landing page and then nurturing them through a pre-defined campaign flow. |
Suitable for general purposes such as newsletter sign-ups, contact forms, event registrations, or any scenario where you need to collect information without the need for immediate campaign-driven automation. |
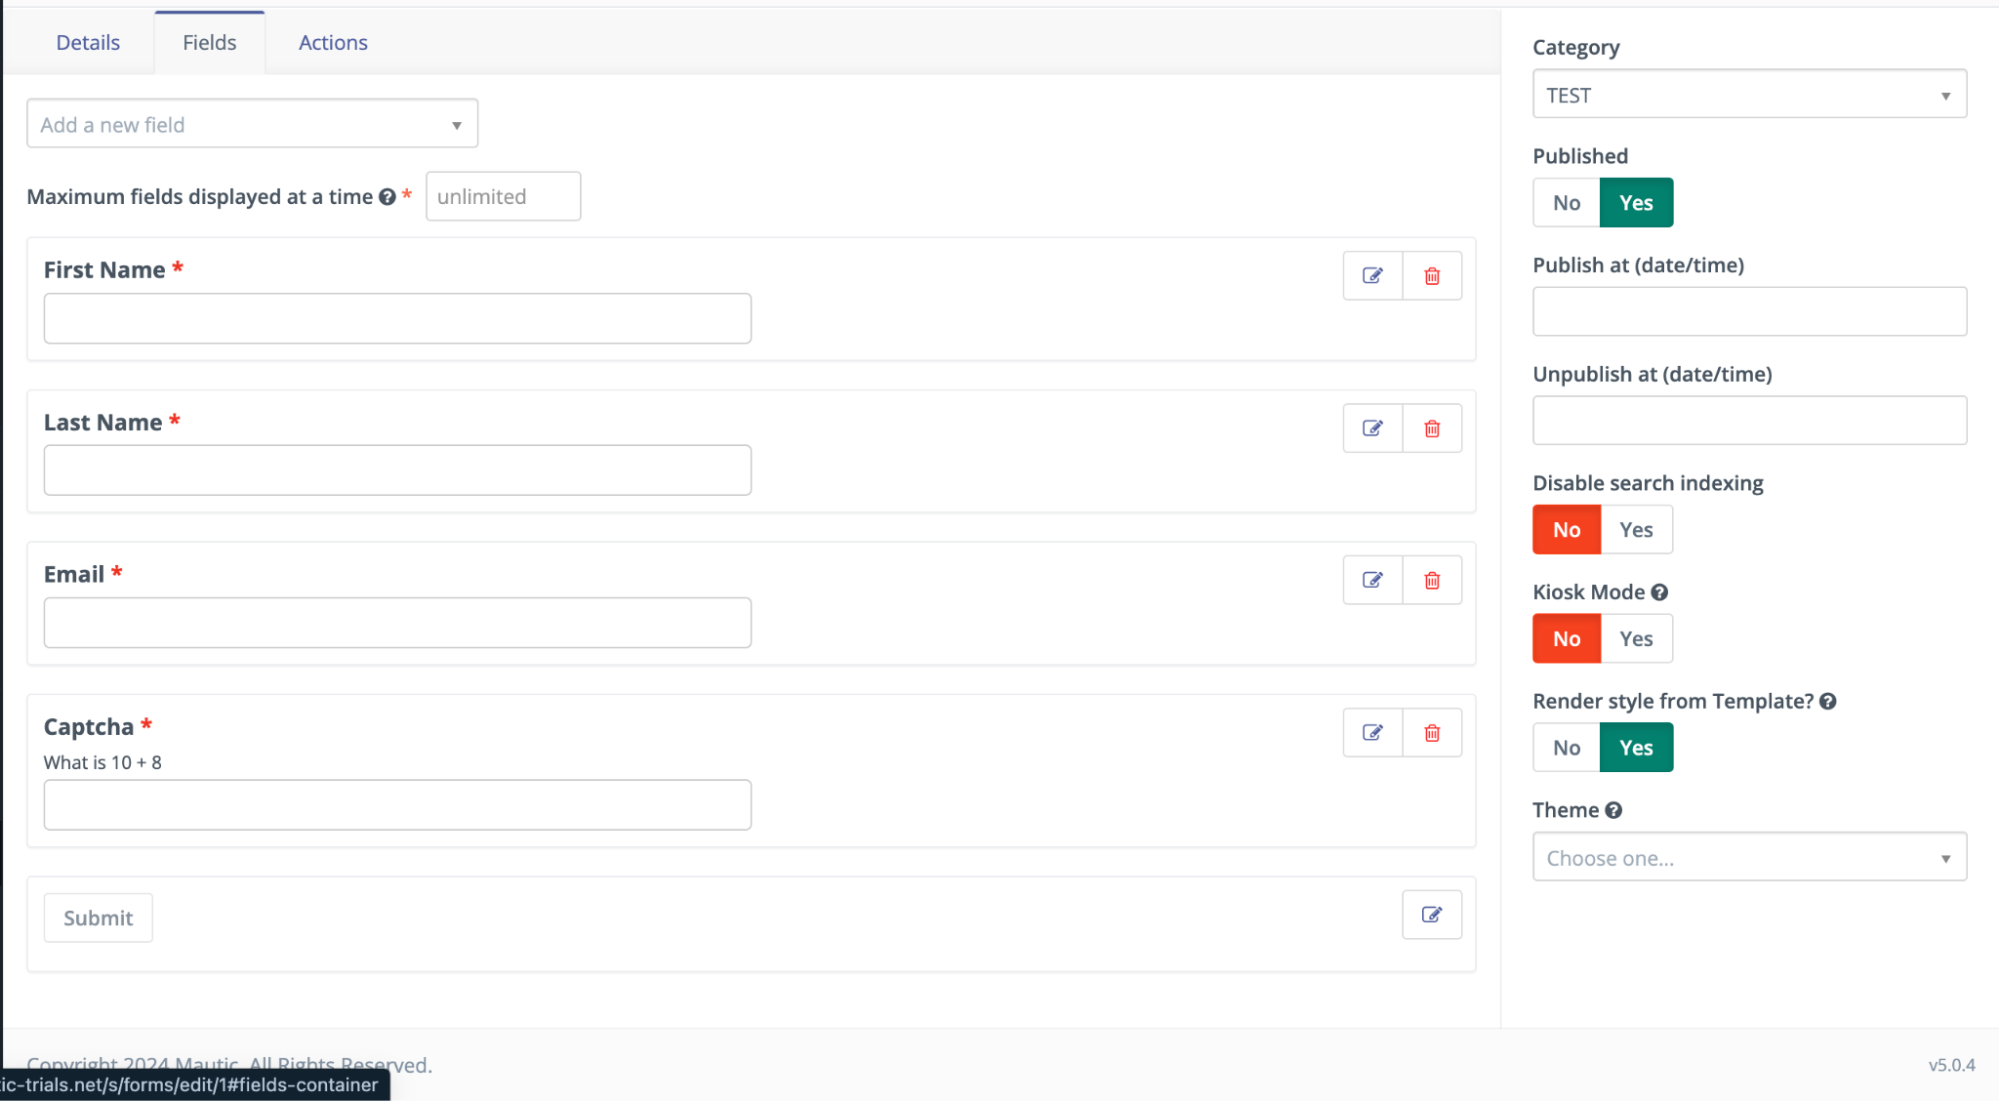
After choosing your desired form type, design your form by adding preferred fields like “Name” and “Email.”
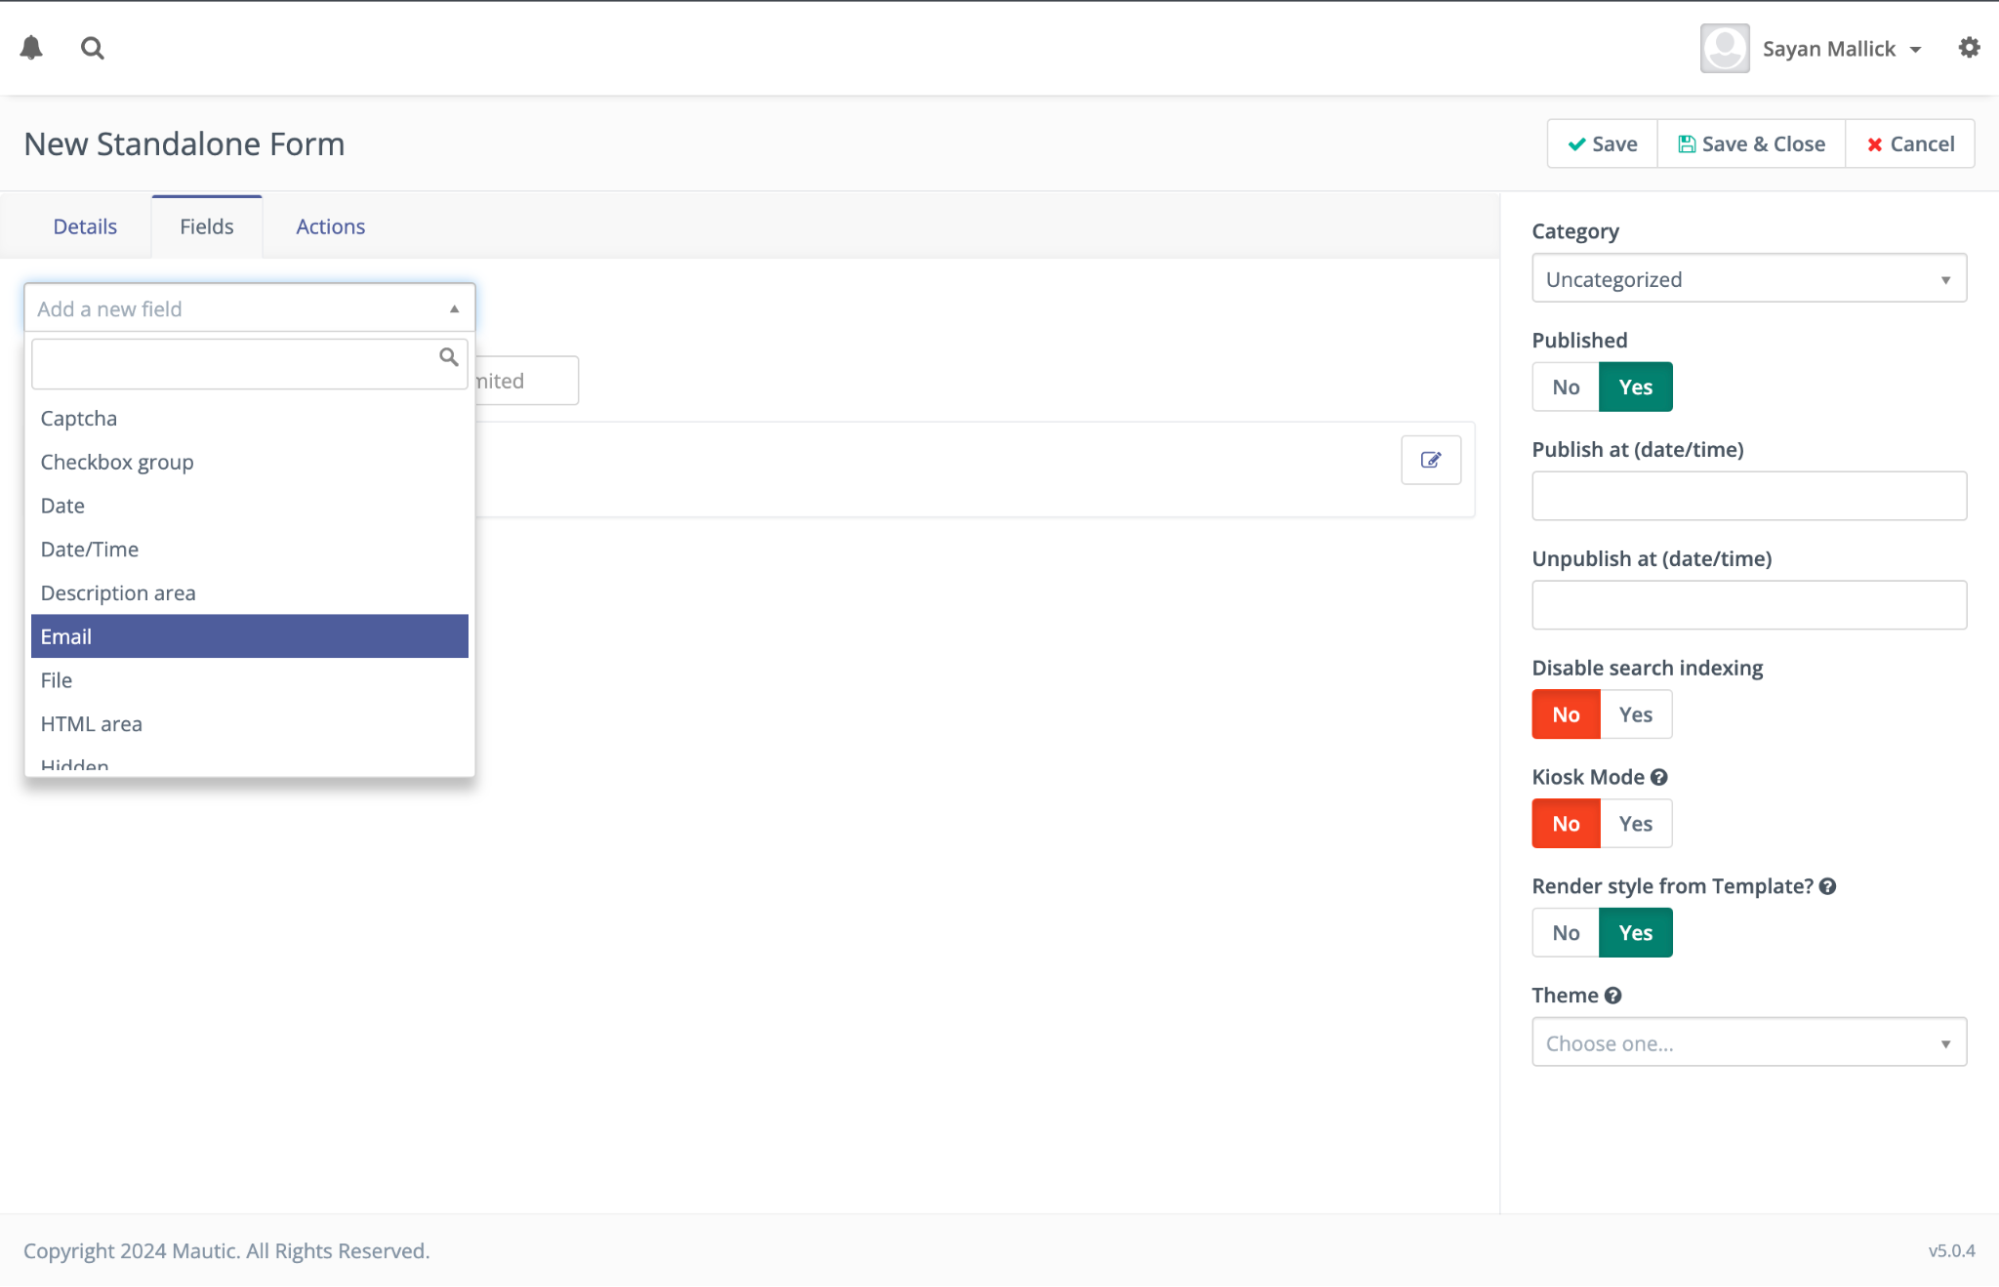
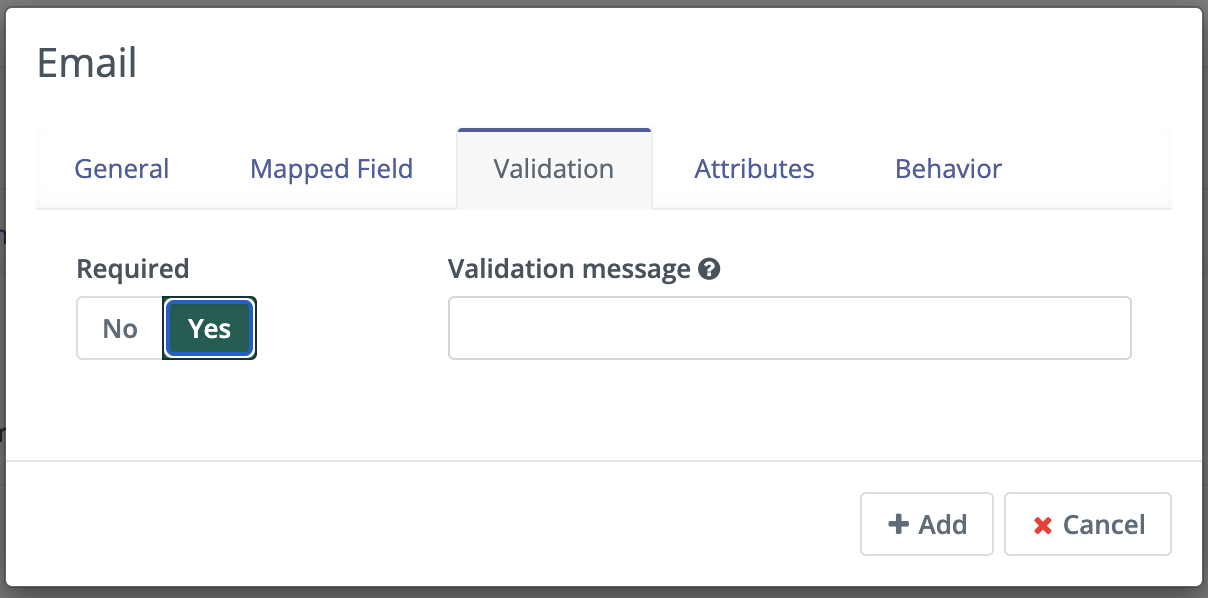
Ensure the email field is marked as required so that the visitors cannot skip this field.
To enter the “First Name” field in the form, simply choose the “Text” field in the main menu. Now, go to the “Mapped Field” option and select “First Name” from the dropdown menu of the “Matching Field” option. You can repeat this step if you want to capture the “Last Name” as well.

How to protect the form from spam? You can use the built-in CAPTCHA field or integrate third-party CAPTCHA tools like Google reCAPTCHA. The built-in CAPTCHA requires the form submitter to answer a basic question or detect spambots using a hidden CAPTCHA field, also known as a honeypot.
In the form details, use the “Successful Form Submit” option to define what happens after the visitor submits the form. After you have configured all the settings, you can save the form.
Step 2: Create An Asset
Assets are files or resources, such as documents, images, or other downloadable content, that can be used within Mautic forms to engage users and capture leads more effectively. To create an asset, go to "Components" in the main navigation and select "Assets." Then, click on "New" to create a new asset. After this, you will be redirected to the “New Asset” page.
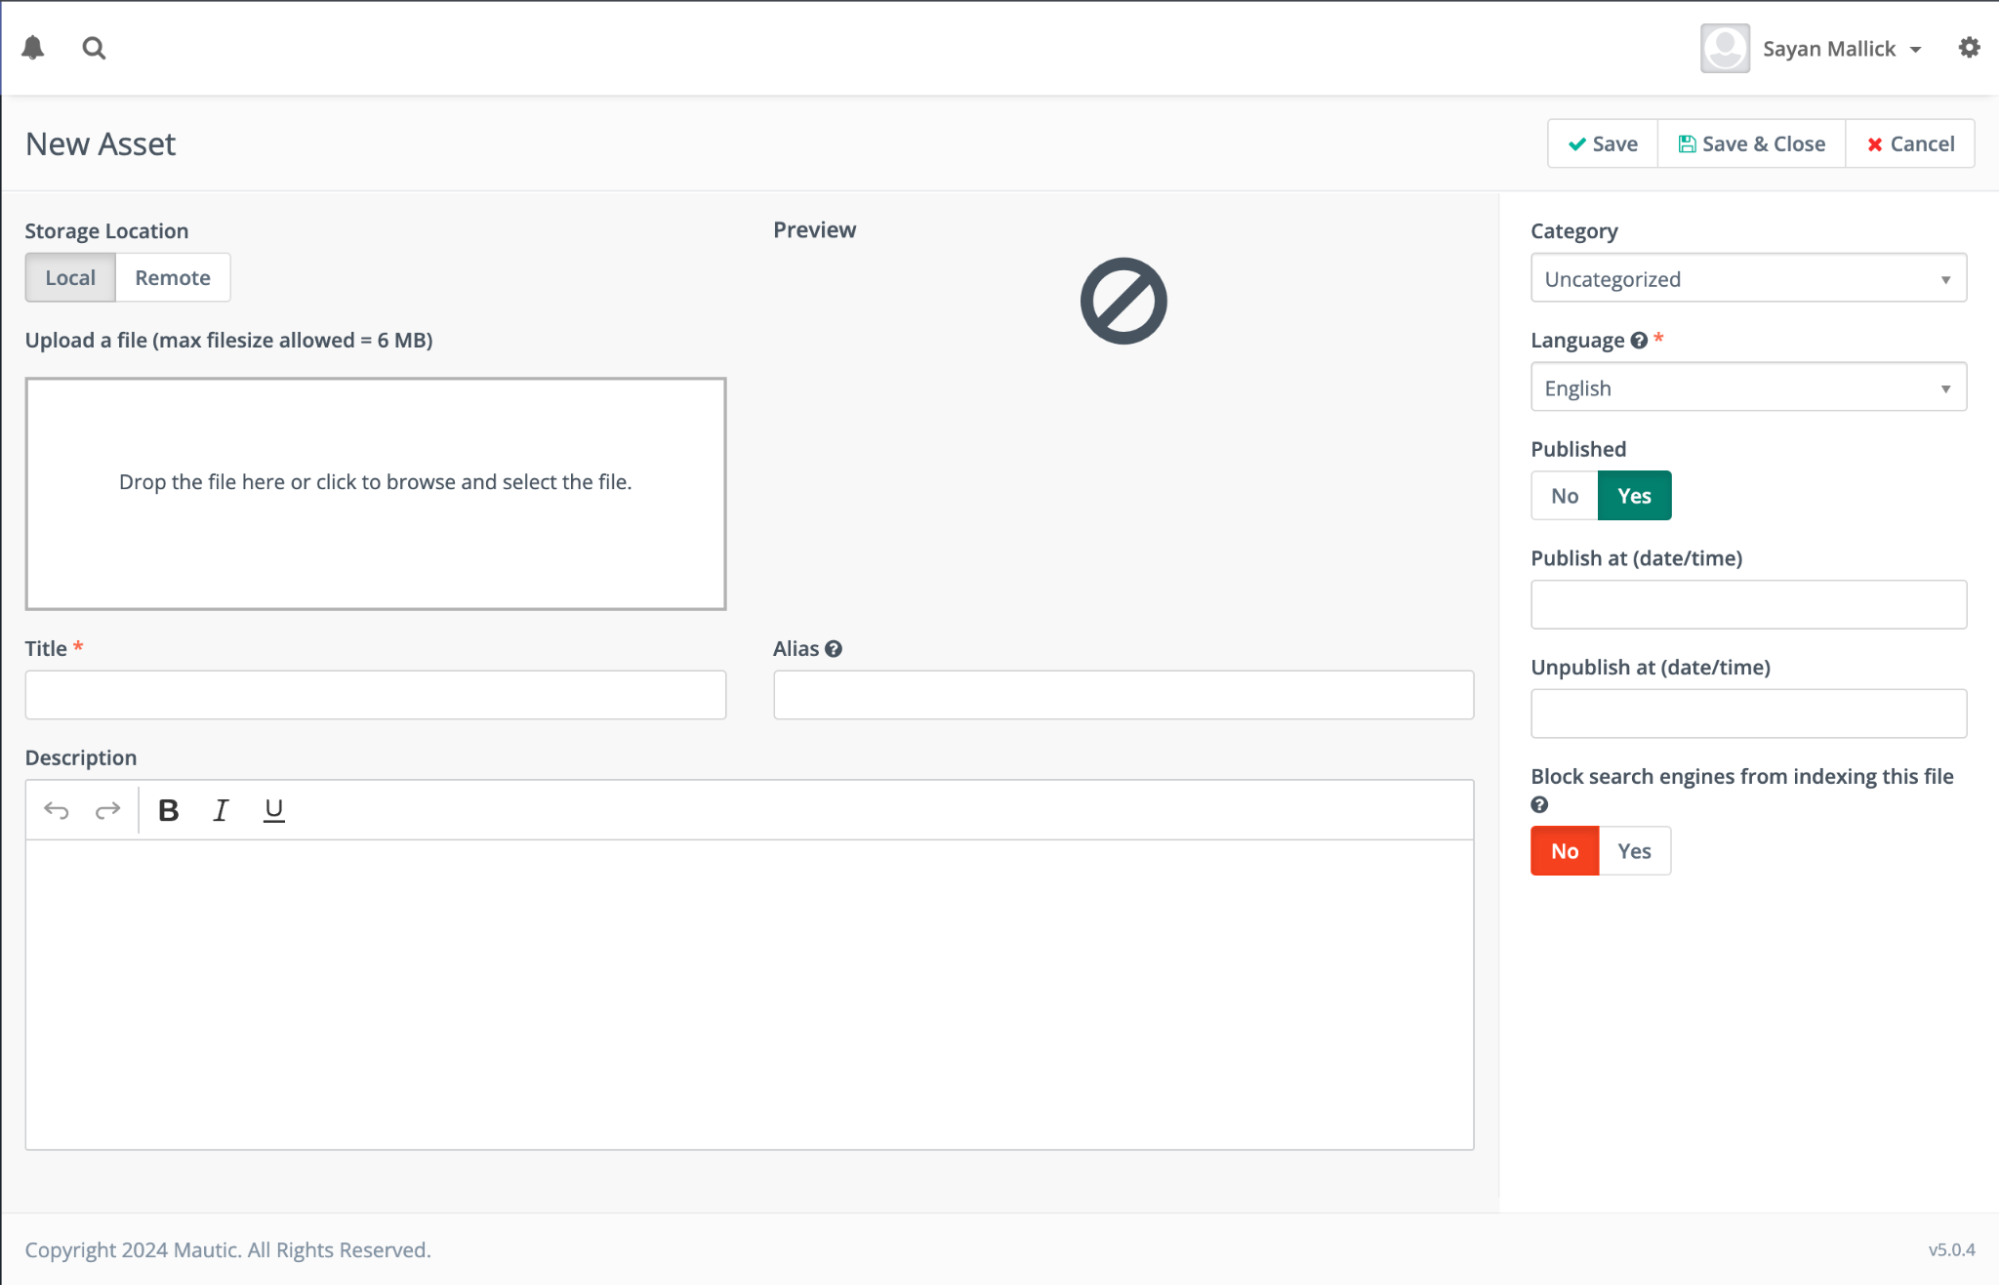
If you wish to upload your asset from your computer, you must select “Local” in the storage location. Using the “Remote” option, you can either browse your integrated cloud storage provider or provide a link to the file on a cloud storage provider like the Amazon S3 bucket.
After choosing the file location, click on the white space below “Upload A File” to upload the desired file.
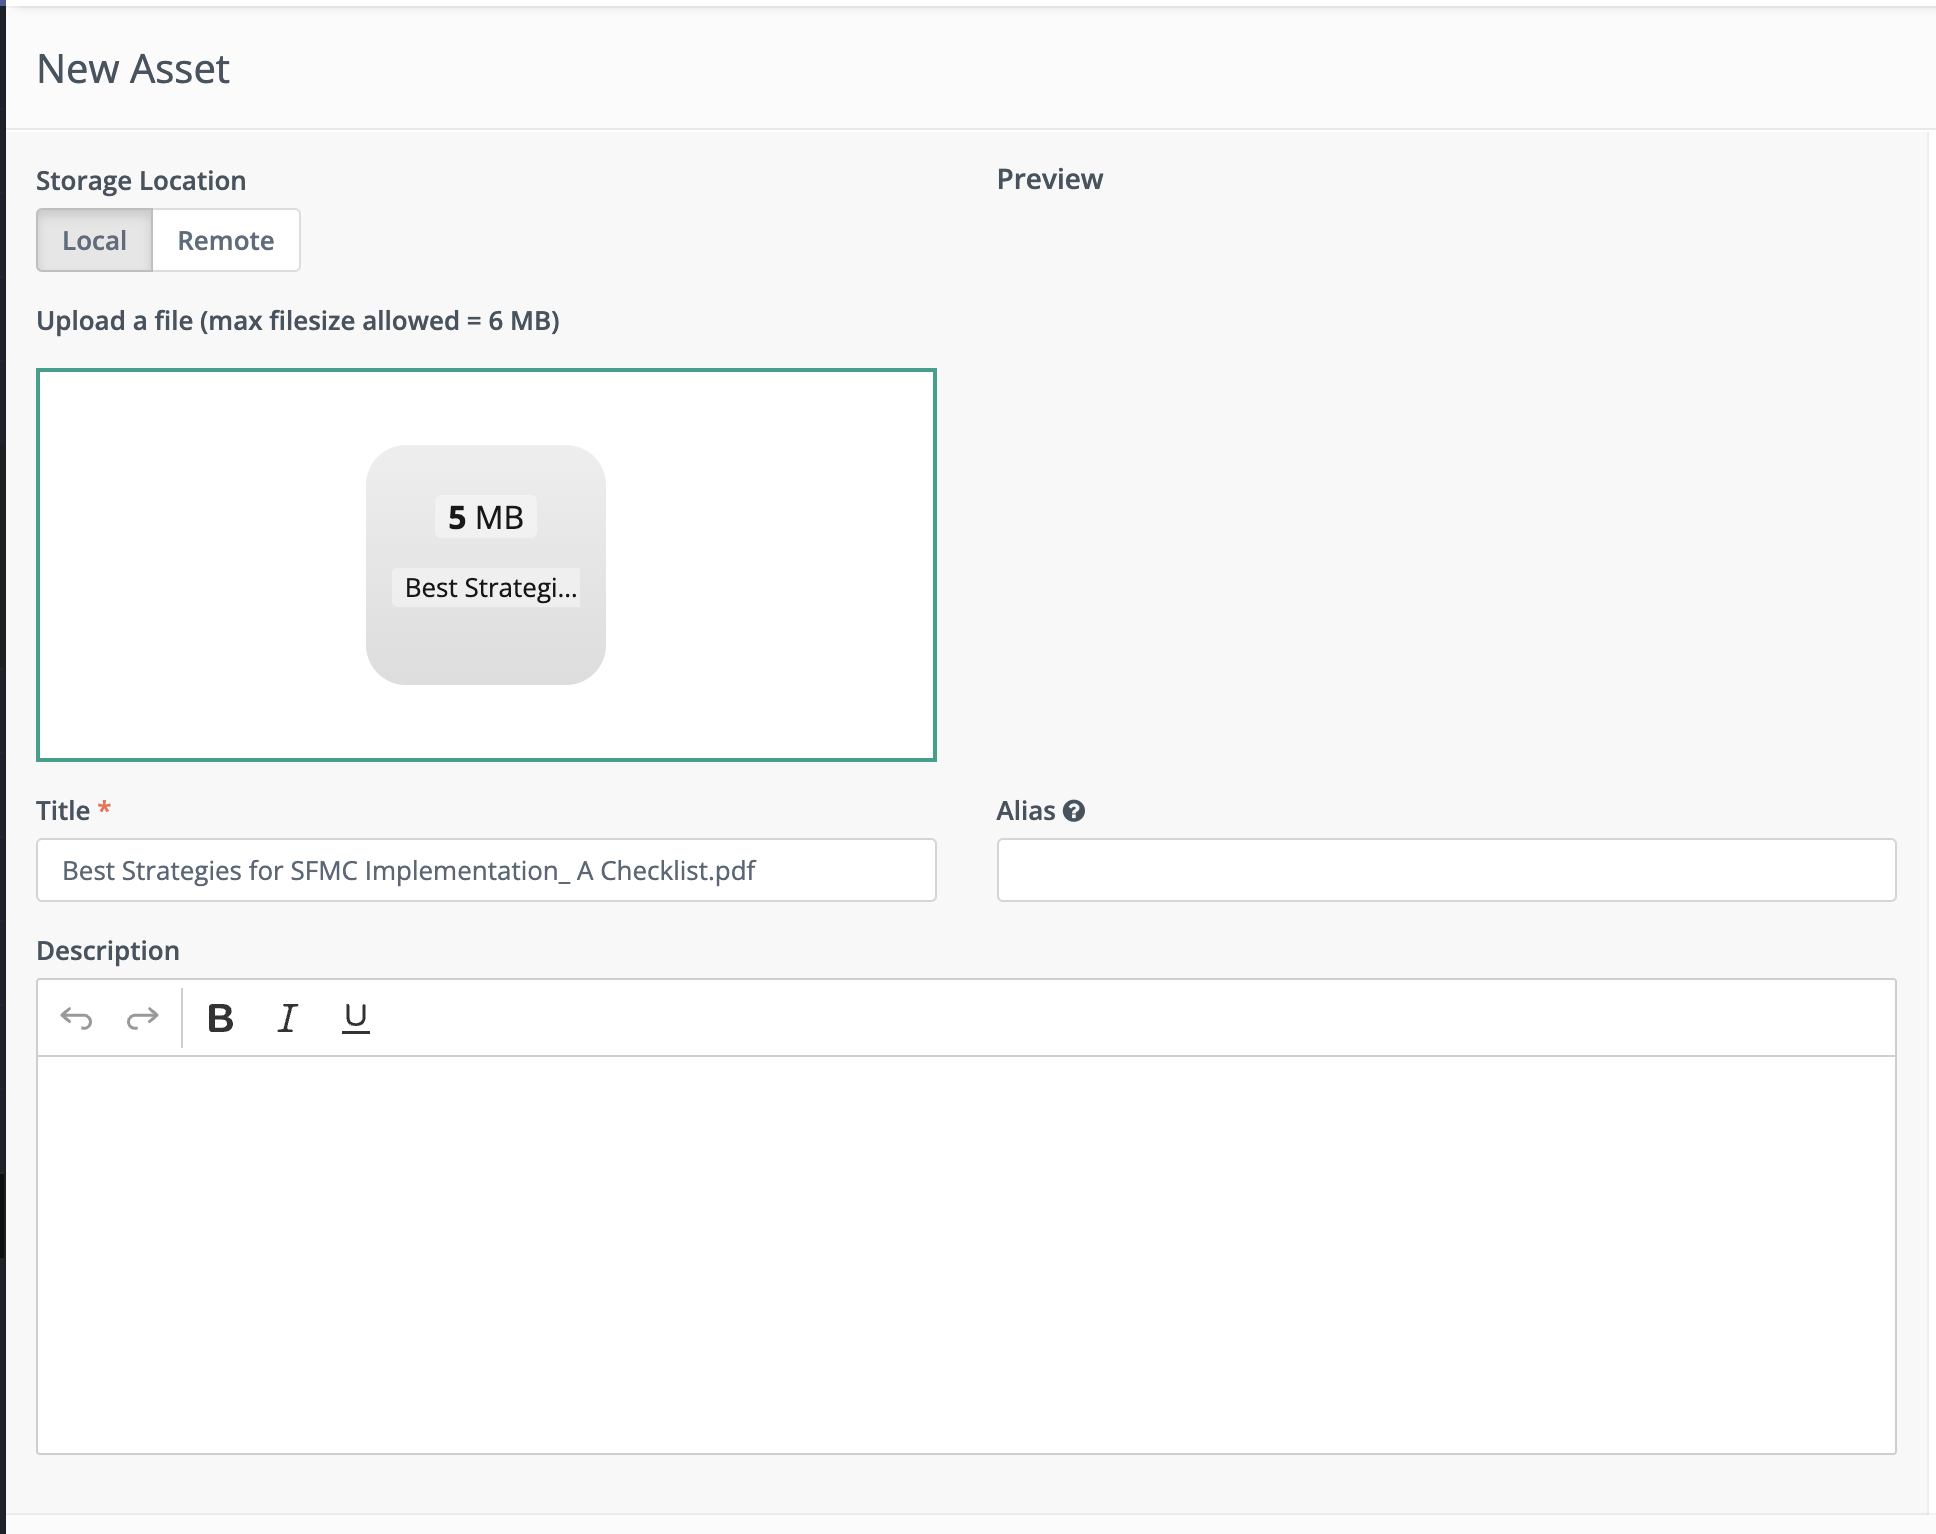
You can click on the “Save” option at the top right to save the asset.
Additional Considerations
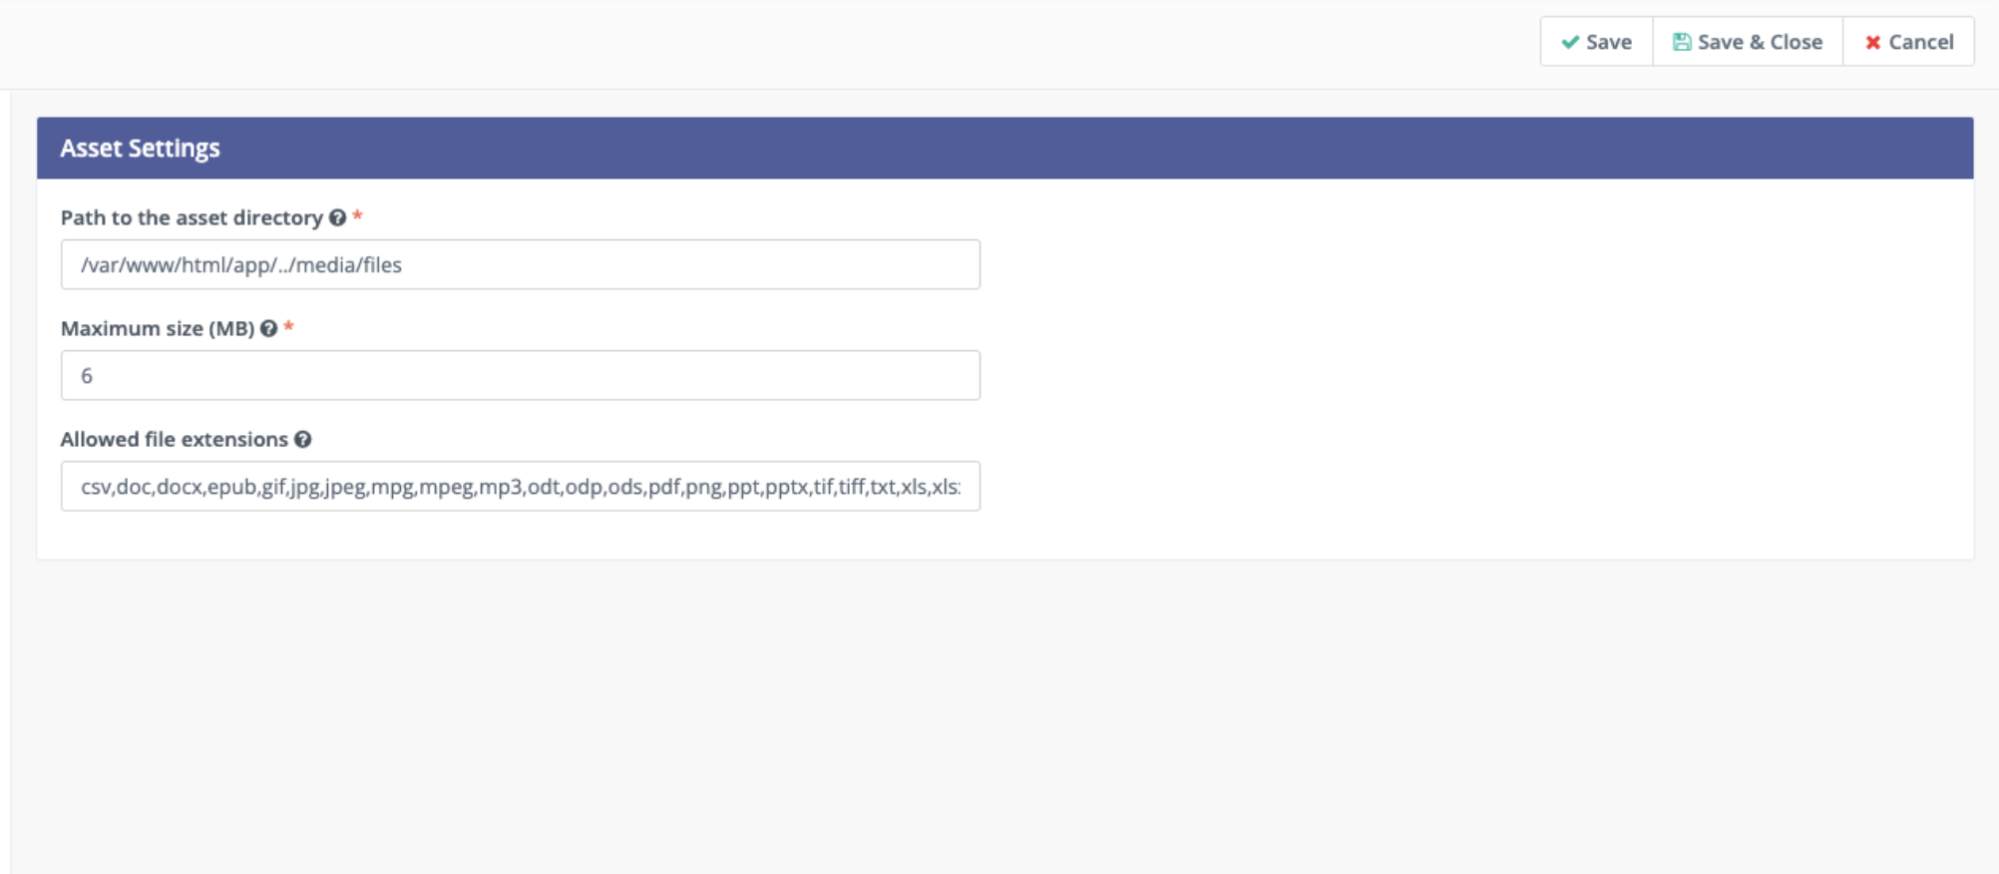
You can change the file by clicking on it again and choosing the alternative file. If you want to add extra file formats or need to upload a larger file, you can make the required changes in the “Asset Setting” under the “Configuration” menu.
Step 4: Set Up Asset Download Action
Now, you have to configure the asset download action so that the visitors can automatically download the asset after submitting the form. Navigate to the "Actions" tab in your form settings and choose the "Download An Asset” option from the dropdown menu. After filling in all the details, select the asset that you have uploaded in the previous step.
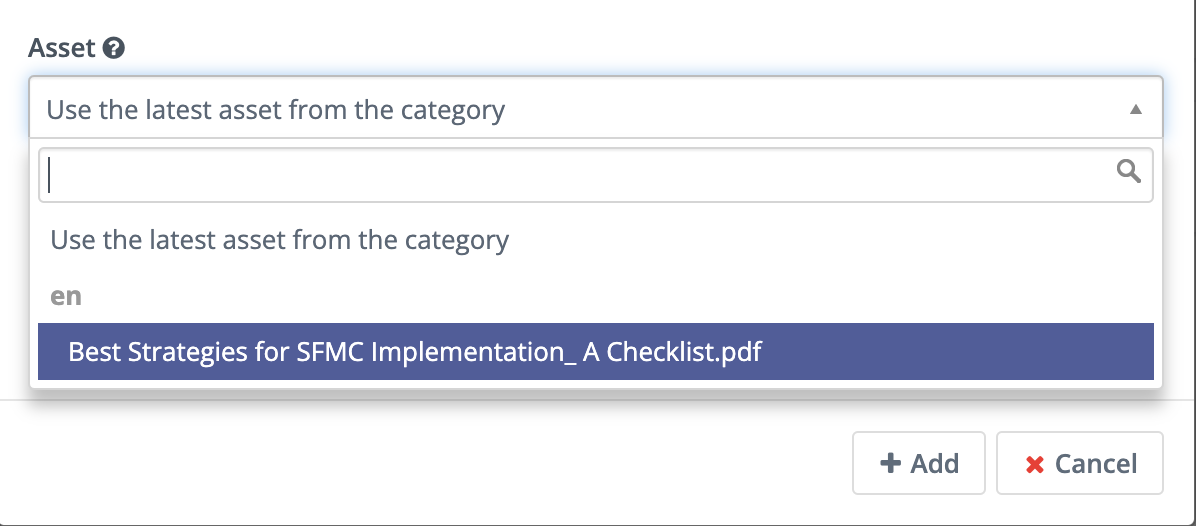
Now, click on the “Add” button to save this action item. Click on “Save” and close the window.
Step 5: Configure Email Actions
You can also use email actions to engage with your visitors who are submitting the Mautic form. For example, you can configure an email thanking the user for signing up or provide a link to download an asset.
Begin the process by navigating to the "Actions" tab in your form settings. Add the "Send Email” action for successful form submission.
.png)
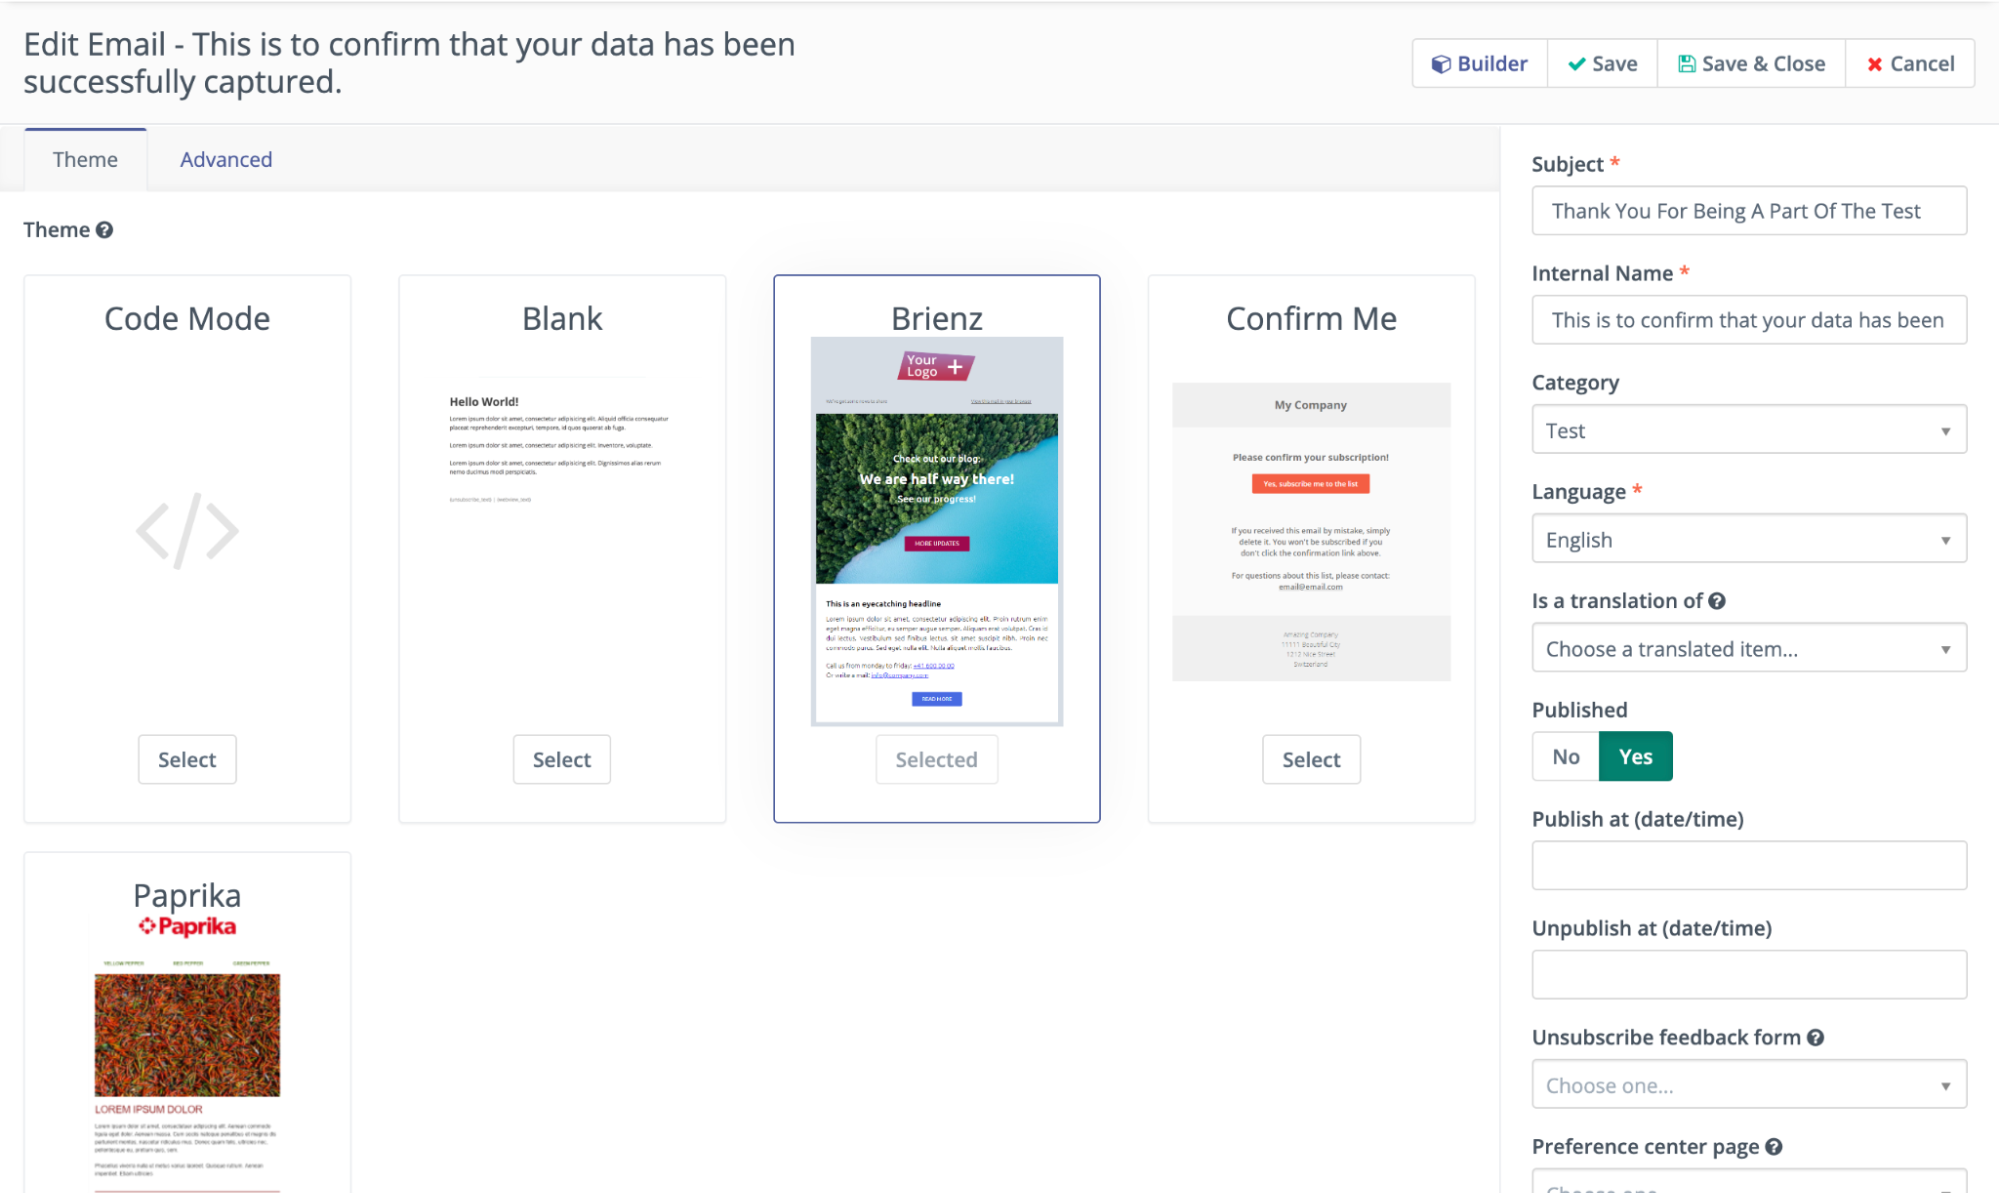
You can personalize the email by navigating to the “Emails” options under “Channel” in the main navigation. Here, you can choose any existing templates and click “Builder” to customize them further. Once you are done, save the changes and close the window.
Additional Considerations
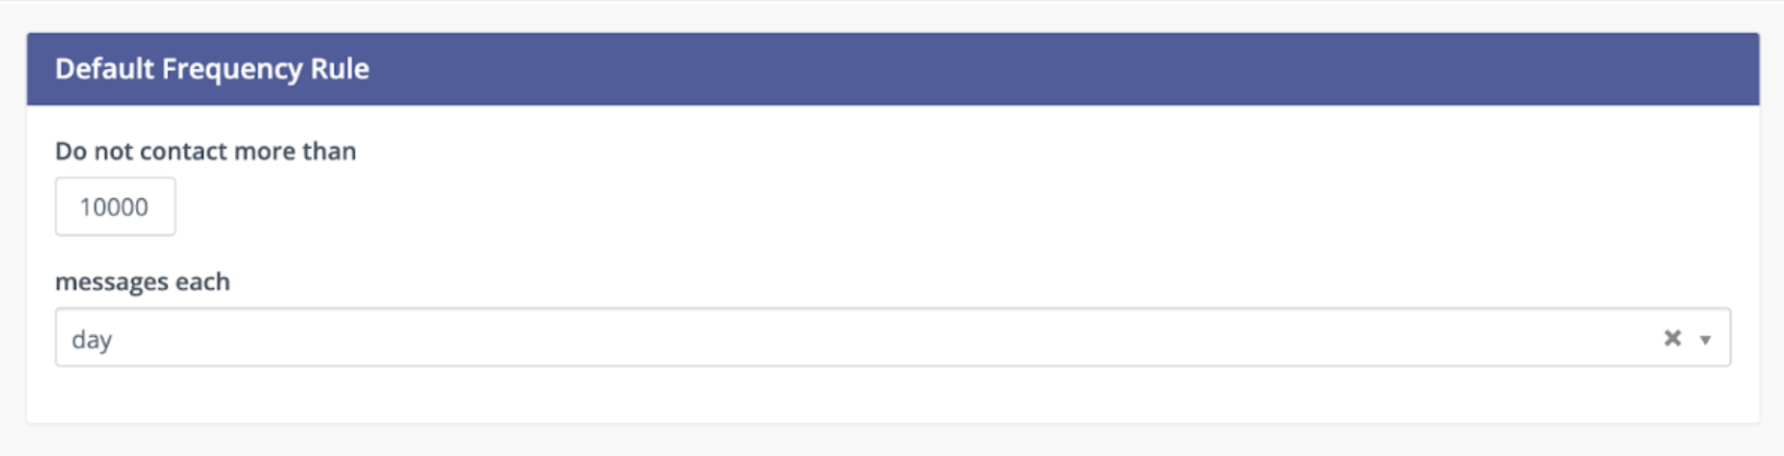
You need to configure the maximum number of emails that Mautic will send in a day.
Navigate to the “Email Settings” under “Configuration” in the main navigation. Change the number under “Do Not Contact More Than.”
Step 6: Embed The Form
These forms can be seamlessly integrated into different web platforms, including WordPress, Drupal or the native landing pages functionality inside Mautic.
After creating the form, you must embed it into your landing page to start capturing the visitor’s email addresses. If you use a Mautic landing page, you can directly add this form using the “Editor” option in the settings.
If you want more flexibility, you can use the “Form HTML” option.
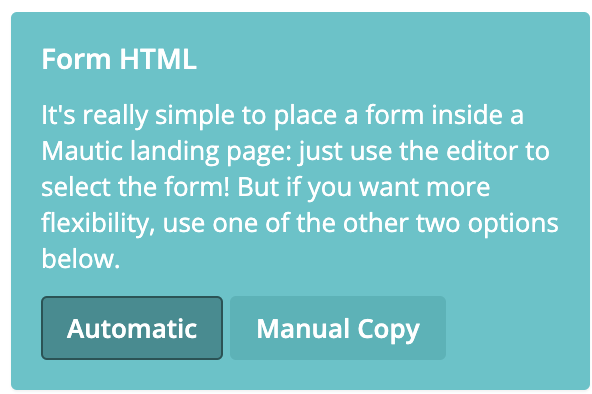
Here, you will find two options:
- Automatic
With “Automatic,” Mautic will automatically generate the form wherever you use it, providing the most updated copy of the form. If you use the “Via iFrame” option in “Automatic,” you need to adjust the height and width attributes to fit the form.
- Manual Copy
With “Manual Copy,” you need to manually update the HTML code if you make any changes to the form. It allows you to edit the code and not rely on Mautic to update the form.
Based on your choice, copy the embed code of your form and paste the code into the HTML of your website where you want the form to appear.
Step 7: Test Your Form
Visit your website and fill out the form to test it. You can also test the form by using the “Preview” option in the “Form Setting.”

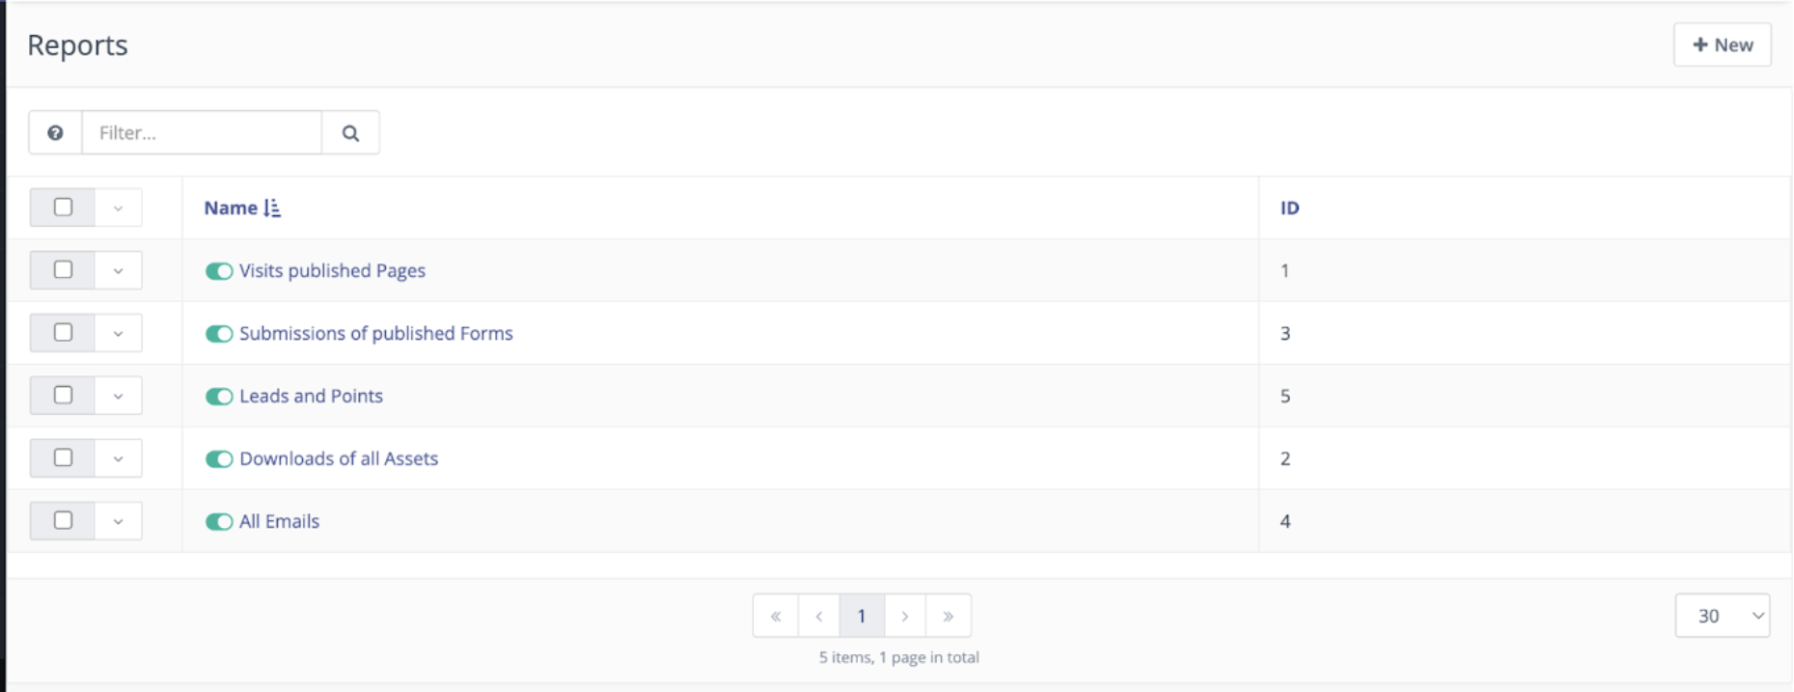
After submitting the form, ensure that the email is sent and that the asset download works as expected. You can check this in the “Reports” option available in the main navigation.
Step 8: Monitor And Analyze
Always be mindful of the number of mandatory fields you include in a form. Too many required fields can deter users from completing the form, especially if they feel that the information requested is not directly relevant to their inquiry.
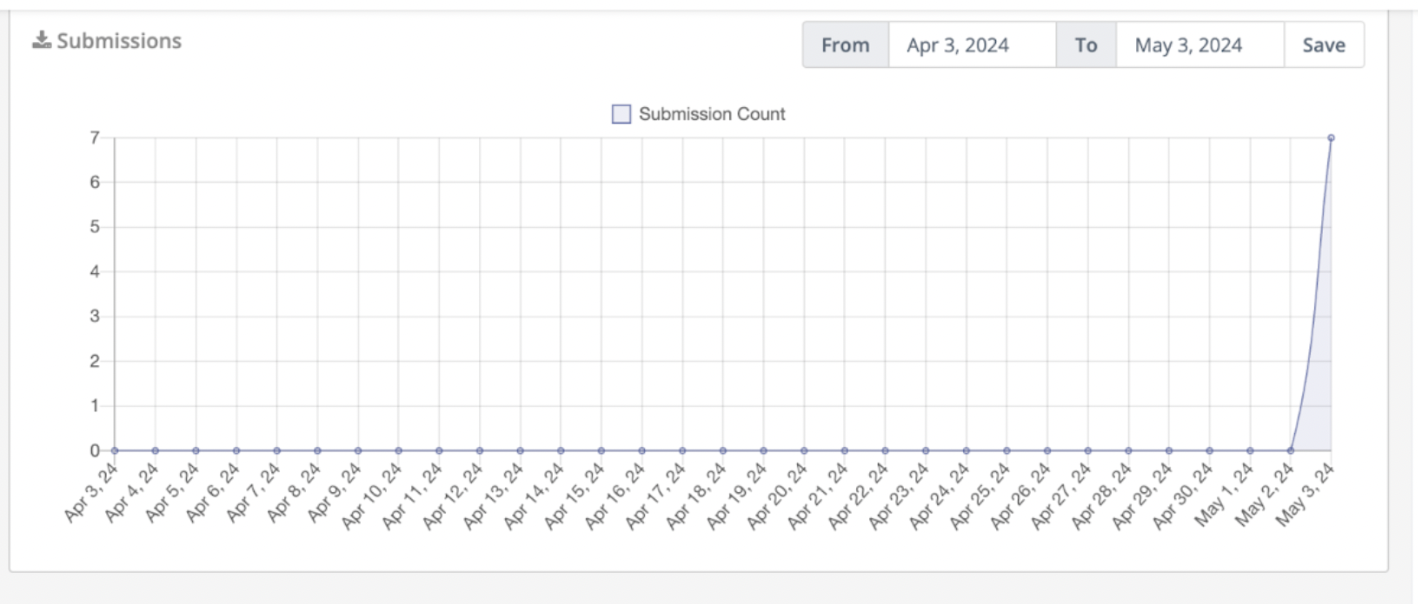
Mautic allows you to monitor the form submissions and email engagements to better understand your visitors. You can click on your form in the “Forms” menu under “Components” to see the total form submissions in the past 30 days. You can also change the time frame in the top right corner.
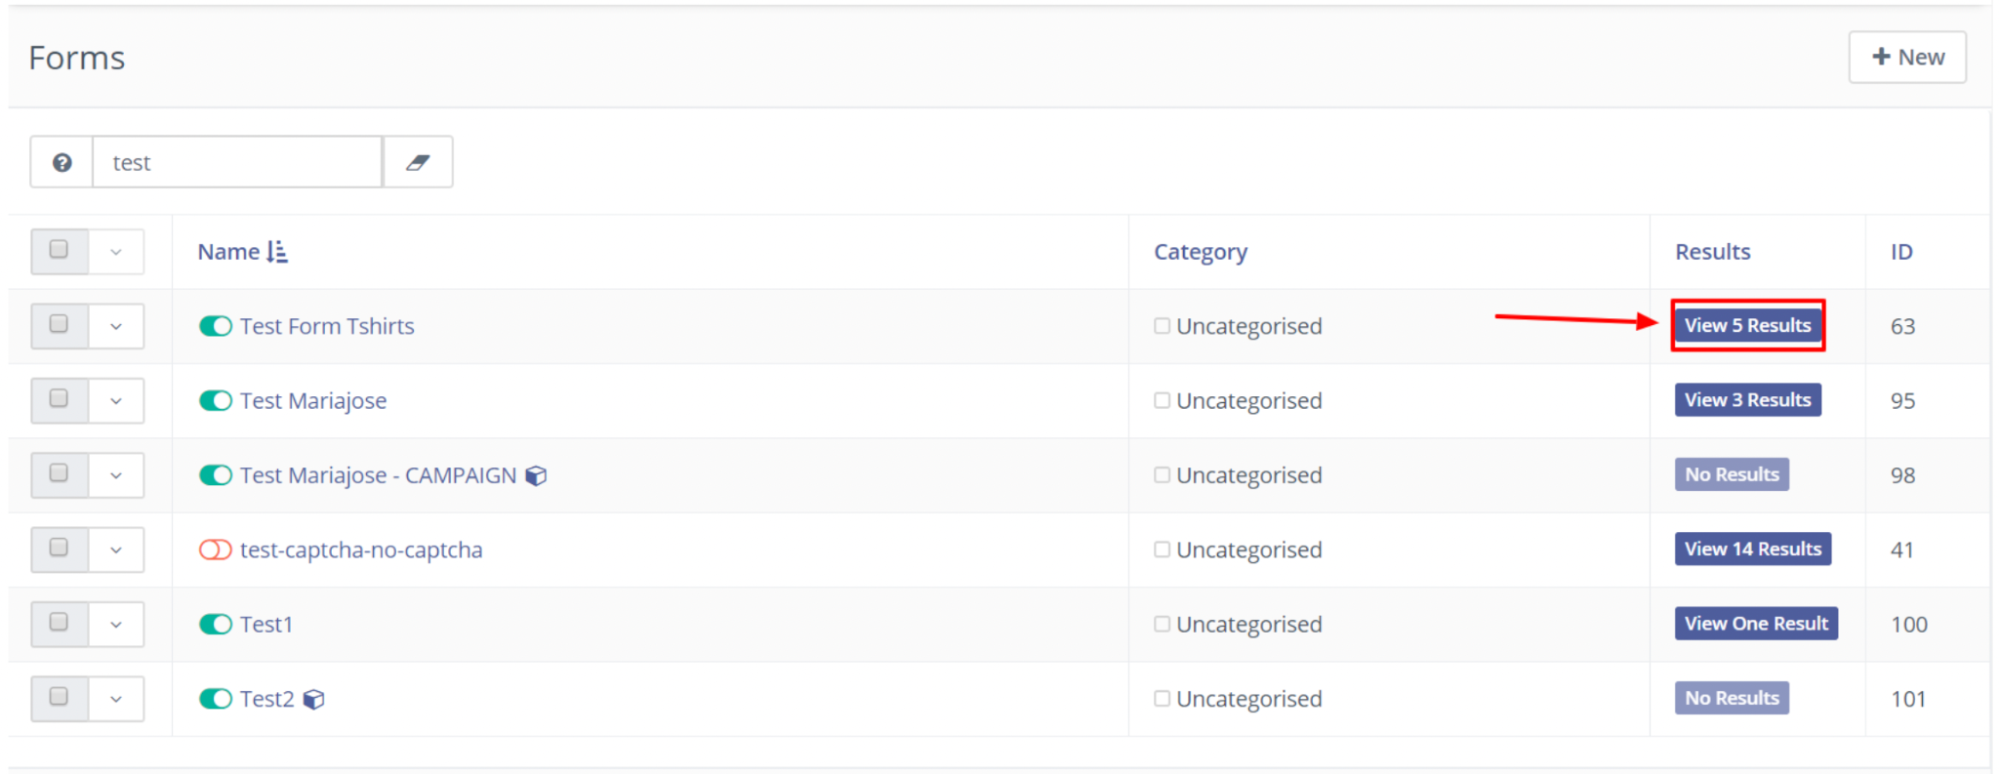
Click on the results tab to view the data in the form submissions.
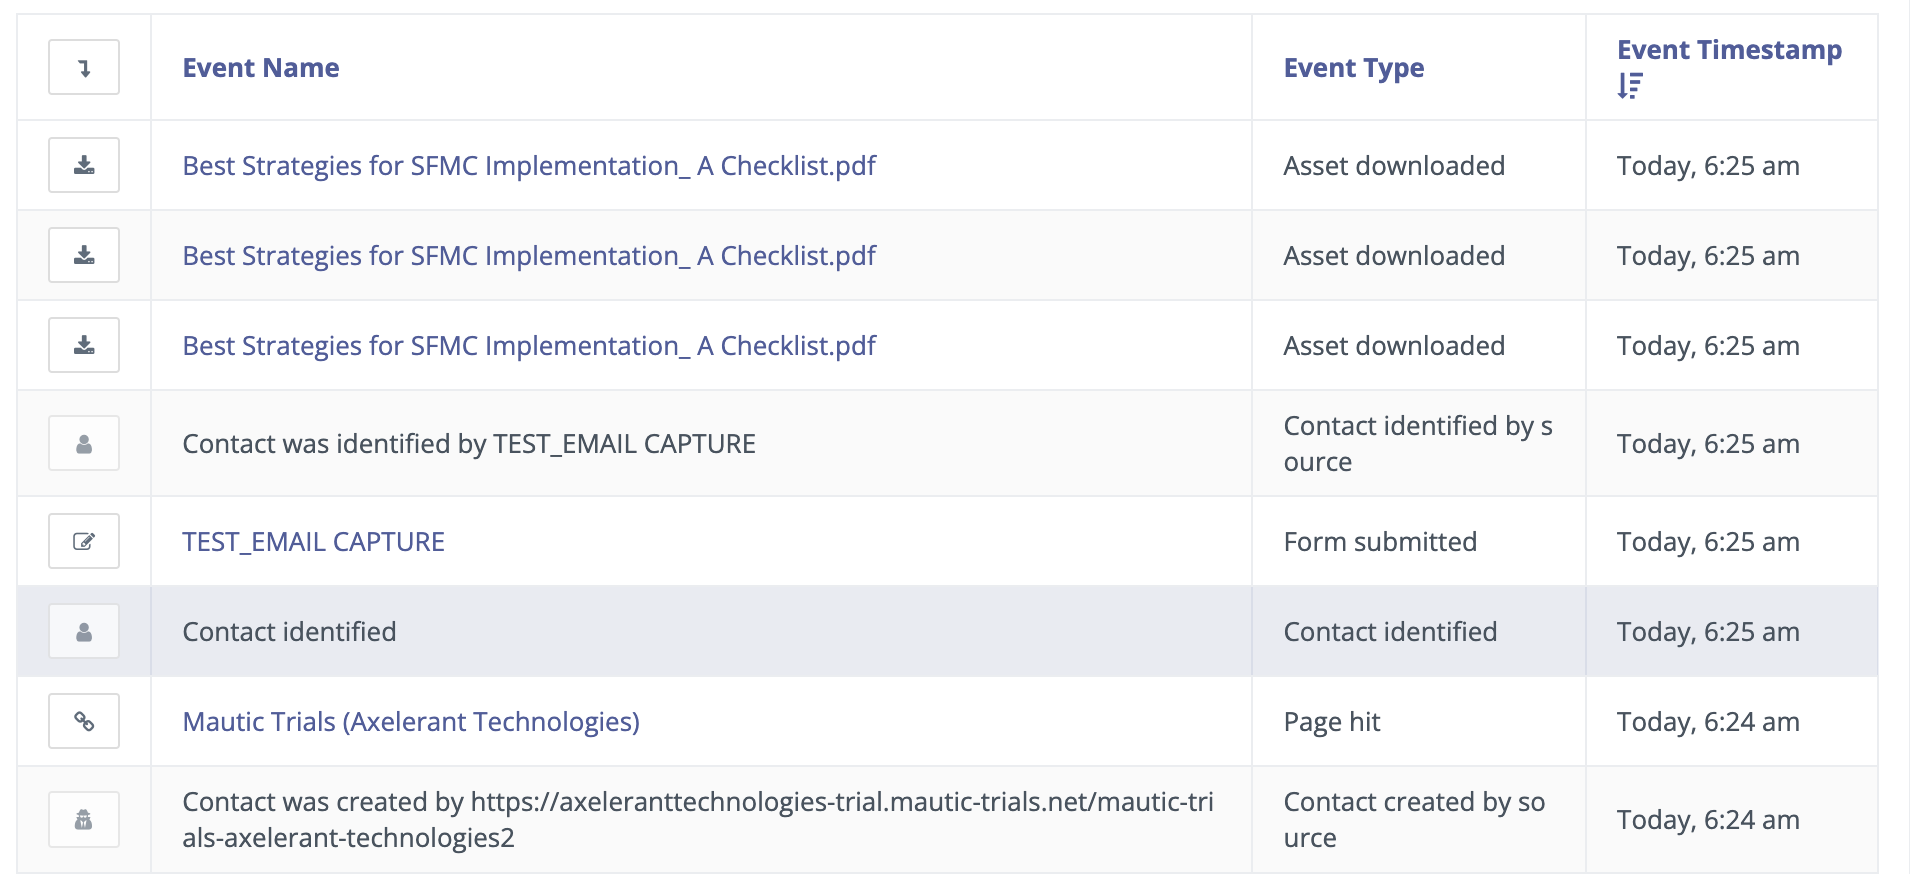
This view will show you all the data collected and your visitors' contact ID. Mautic allows you to export this data in CSV, Excel, and HTML for analysis and backup.

You can also get individual engagement data by clicking on the visitor's contact ID.
What’s Next: Optimizing And Testing
Use progressive profiling to gradually collect more information from users over time, which can help in reducing form abandonment rates and improving data quality.
Once you have set up your forms and assets in Mautic, the next step is to focus on optimizing and testing to ensure maximum effectiveness.
- A/B Testing Forms
Implement A/B testing to determine which form designs and calls-to-action (CTAs) yield the highest conversion rates. Test different variations of form fields, button texts, and layouts to see what resonates best with your audience.
- Analyzing Data
Regularly analyze the data collected from form submissions. Look for patterns and insights that can help you understand user behavior and preferences. Use this data to refine your forms and marketing strategies.
- Segmenting And Personalizing
Use the data from form submissions to segment your audience and create personalized marketing campaigns. Tailoring your messages to specific segments can significantly improve engagement and conversion rates.
By focusing on these optimization and testing strategies, you can ensure that you are getting the most out of your captured email addresses.