What is Mautic's API?
Estimated Reading Time: 4 MinutesMautic has a great API to interact with other systems. The REST API serves as a powerful gateway to the Mautic system. It supports an ample amount of calls allowing users to programmatically create, read, delete, and modify different components within Mautic. The Mautic API requires OAuth (1a or 2) authentication. The API can be used to:
- Build meaningful integrations with in-house systems – CRM, ERP, social, and more.
- Batch update Mautic components.
- Create advanced triggers and alerts.
- Achieve the valuable use case that you envision.
This guide allows you to quickly communicate with the Mautic API. For full API documentation, please refer to the developer-docs
How to Use the Mautic Rest API
Here are the basic steps to getting started with the Mautic API.
-
Install the Mautic API
- With Composer: API library is at Packagist. The
composer require mautic/api-librarycommand will install the library to your project for you. Composer will also automatically include the library to your project. - Install by git clone: Go to your project folder where you want to place the Mautic API library. For example:
cd /var/www/html/myproject. Run git clone to this folder:git clone https://github.com/mautic/api-library.git - Copy from ZIP package: Download the library from mautic-api-library-zip. Extract the package to some temporary location. Copy the
/libfolder to your project.
- With Composer: API library is at Packagist. The
-
Mautic Setup To enable the API in Mautic, follow these steps:
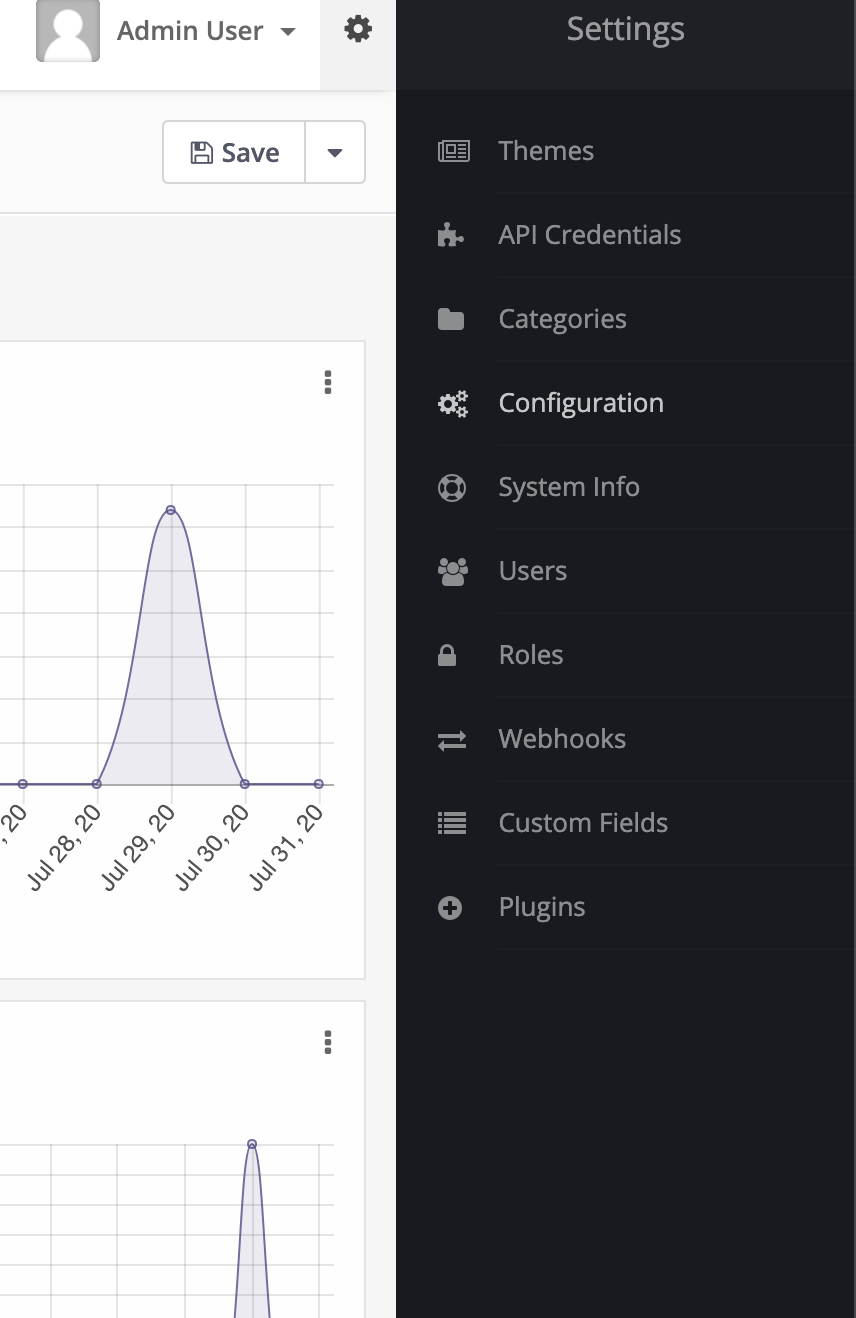
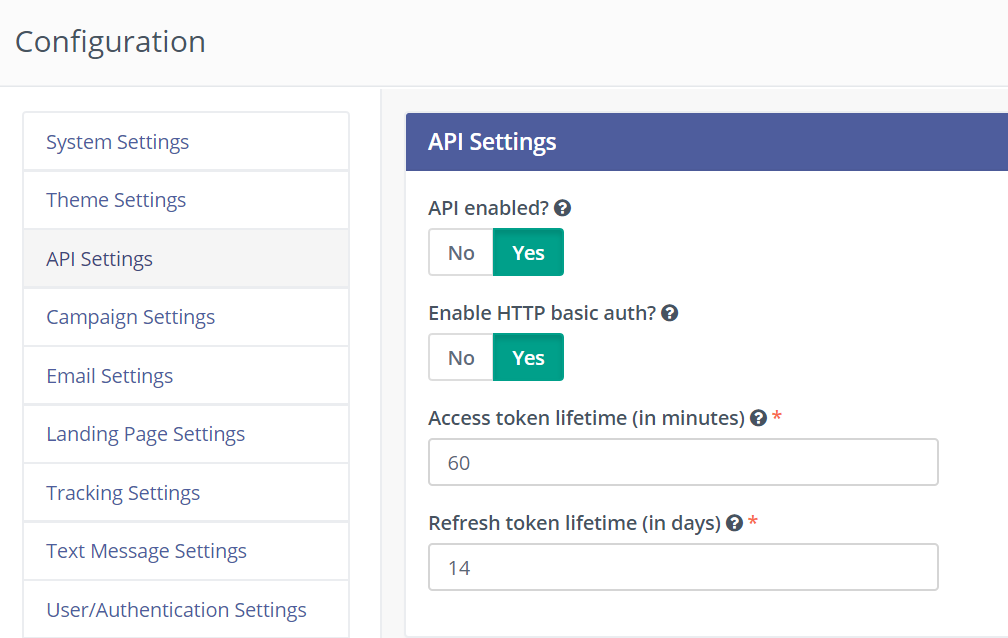
- Go to the Configuration page (located in the Settings menu), and under API Settings enable Mautic's API.
- If you intend on using Basic Authentication, ensure you enable it. You can also choose which OAuth protocol to use here.
- After saving the configuration, go to the API Credentials page (located in the Settings menu after API is enabled).
- Create a new client. Enter the callback/redirect URI that the request will be sent from.
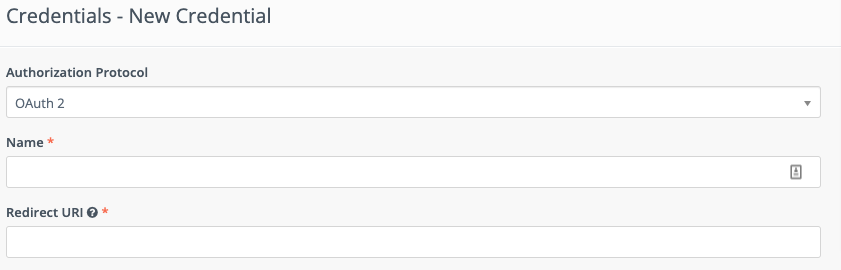
- Click Apply then copy the Client ID and Client Secret to the application that will be using the API.
- Go to the Configuration page (located in the Settings menu), and under API Settings enable Mautic's API.
-
Authorization Mautic supports OAuth 2. Thus it is best to have a configuration option within your project for the administrator to choose what method should be used by your code. For full documentation on authorization, please refer to the developer-docs.
If you don't want to hard-code authorization details then you can create a form with the following text inputs: Mautic Base URL, Consumer Key and Consumer Secret with Save & Authorize button. This form should not be accessible to the public.
Note:You can test authorization and API requests in build-in API Tester. You can find it in the /apitester directory of the Mautic API Library.
-
Endpoints The base format for the http request URL is: https://your-mautic.com/api/[request-extension]. Mautic generally supports GET, POST, DELETE, PATCH, and PUT requests which can be examined in more detail in the API documentation. Successful responses are returned in JSON format.
-
Making API Calls Now that we have authentication and the API request URL, let’s talk to the Mautic API!. This query returns the profile data of an individual Mautic contact: GET https://your-mautic.com/api/contacts/[contact-id]. Choose your preferred environment below and use the code snippets as guides for sending your first Mautic query. Change the [contact-id] to the ID of the Mautic contact you want to view also update your [[username]] and [[password]]
Curl
curl -X GET https://your-mautic.com/api/contacts/[[contact-id]] -u [[username]]:[[password]
PHP
<?php
use Mautic\MauticApi;
use Mautic\Auth\ApiAuth;

// ...
$initAuth   = new ApiAuth();
$auth       = $initAuth->newAuth($settings);
$apiUrl     = "https://your-mautic.com";
$api        = new MauticApi();
$contactApi = $api->newApi("contacts", $auth, $apiUrl);
$contact = $contactApi->get($[[contact-id]]);
Python
import requests

url = 'https://[[your-mautic.com]]/api/contacts/[[contact-id]]'
payload = ""
headers = {'Accept': "application/json"}

r = requests.request("GET", url, data=payload, auth=('[[username]]','[[password]'))

print(r.text)
Node.js
var request = require('request');
var username = "[[username]]";
var password = "[[password]]";
var auth = "Basic " + new Buffer.from(username + ":" + password).toString("base64");

var options = {
url: 'https://[[your-mautic.com]]/api/contacts/[[contact-id]]',
headers: {
"Authorization": auth
}
};
request(options, function (error, response, body) {
if (error) throw new Error(error);
console.log(body);
});
Ruby
require 'uri'
require 'net/http'
require 'openssl'
uri = URI.parse("https://[[your-mautic.com]/api/contacts/[[contact-id]]")

request = Net::HTTP::Get.new(uri)
request.basic_auth '[[username]]','[[password]]'
request.content_type = "application/json"
req_options = {
use_ssl: uri.scheme == "https",
}
response = Net::HTTP.start(uri.hostname, uri.port, req_options) do |http|
http.request(request)
end
puts response.body